


 Settings → Accounting connects QuickBooks and holds your account mappings, bookkeeping automations and expense policies. Company Admins and Bookkeepers can use it after your company finishes onboarding.
An HR Admin role alone can’t open Settings → Accounting.
Every turns on additional default accounts, custom categories, reimbursement approval settings and some bookkeeping automations company by company. If you don’t see them, email support@every.io to ask about them.
Connect QuickBooks
Under Connected accounts, QuickBooks shows as Connected or Disconnected.1
Start the connection
In the menu next to QuickBooks, select Connect.
2
Open QuickBooks
In Connect QuickBooks, select Continue. QuickBooks opens in a new tab.
3
Authorize the connection
In the QuickBooks tab, authorize the connection.
4
Return to Every
Return to Settings → Accounting to choose your default accounts and mappings.
Sync expenses to QuickBooks
Coding you assign on Expenses is saved in Every. To apply it in QuickBooks, select Sync to QuickBooks on Expenses. To use automatic expense sync, turn on QuickBooks Sync (see Choose bookkeeping automations).Choose default accounts
Once QuickBooks is connected, Default accounts, Department mapping and Category mapping appear. Selecting an account or saves the mapping. Under Default accounts, choose the QuickBooks account for each row:
Automatic expense sync needs Every Bank Account and Reimbursement set.
Map departments and categories
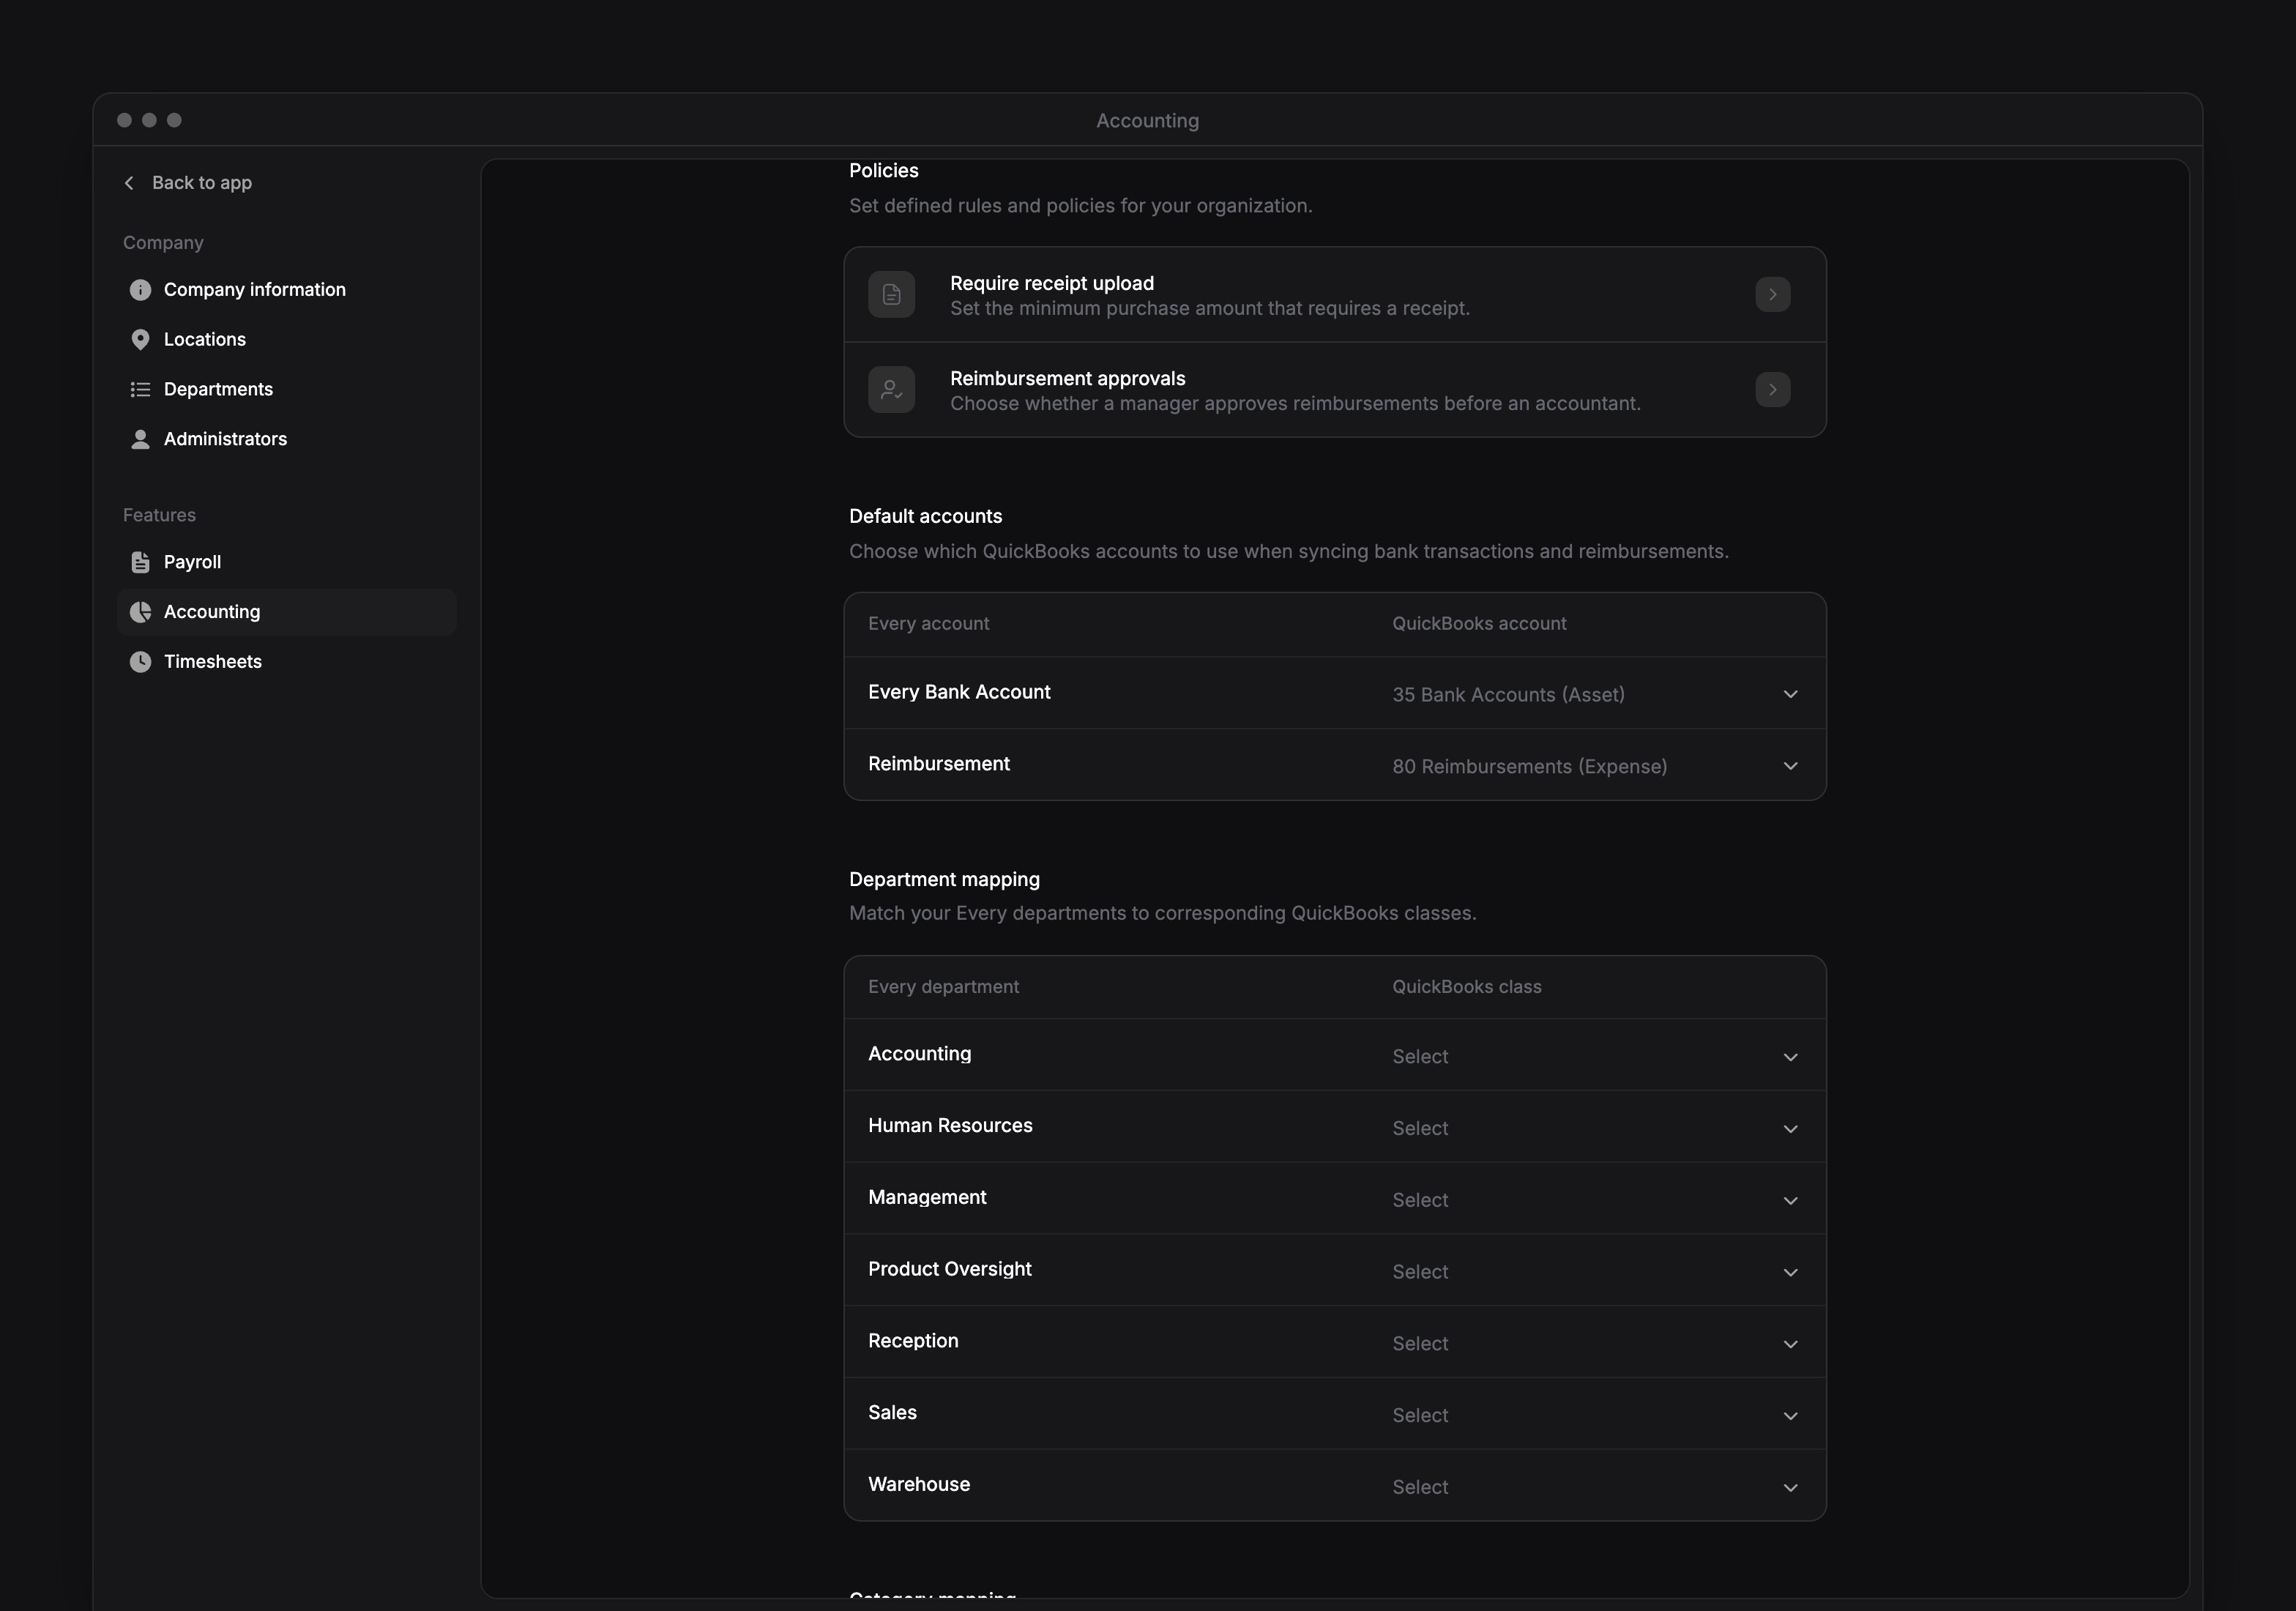
In Department mapping, choose a QuickBooks class for each Every department. Company Admins and HR Admins add departments in Settings → Departments (see Add a department). In Category mapping, choose a QuickBooks category for each Every category. Mandatory categories holds the required mappings for . Expand Other categories for the rest.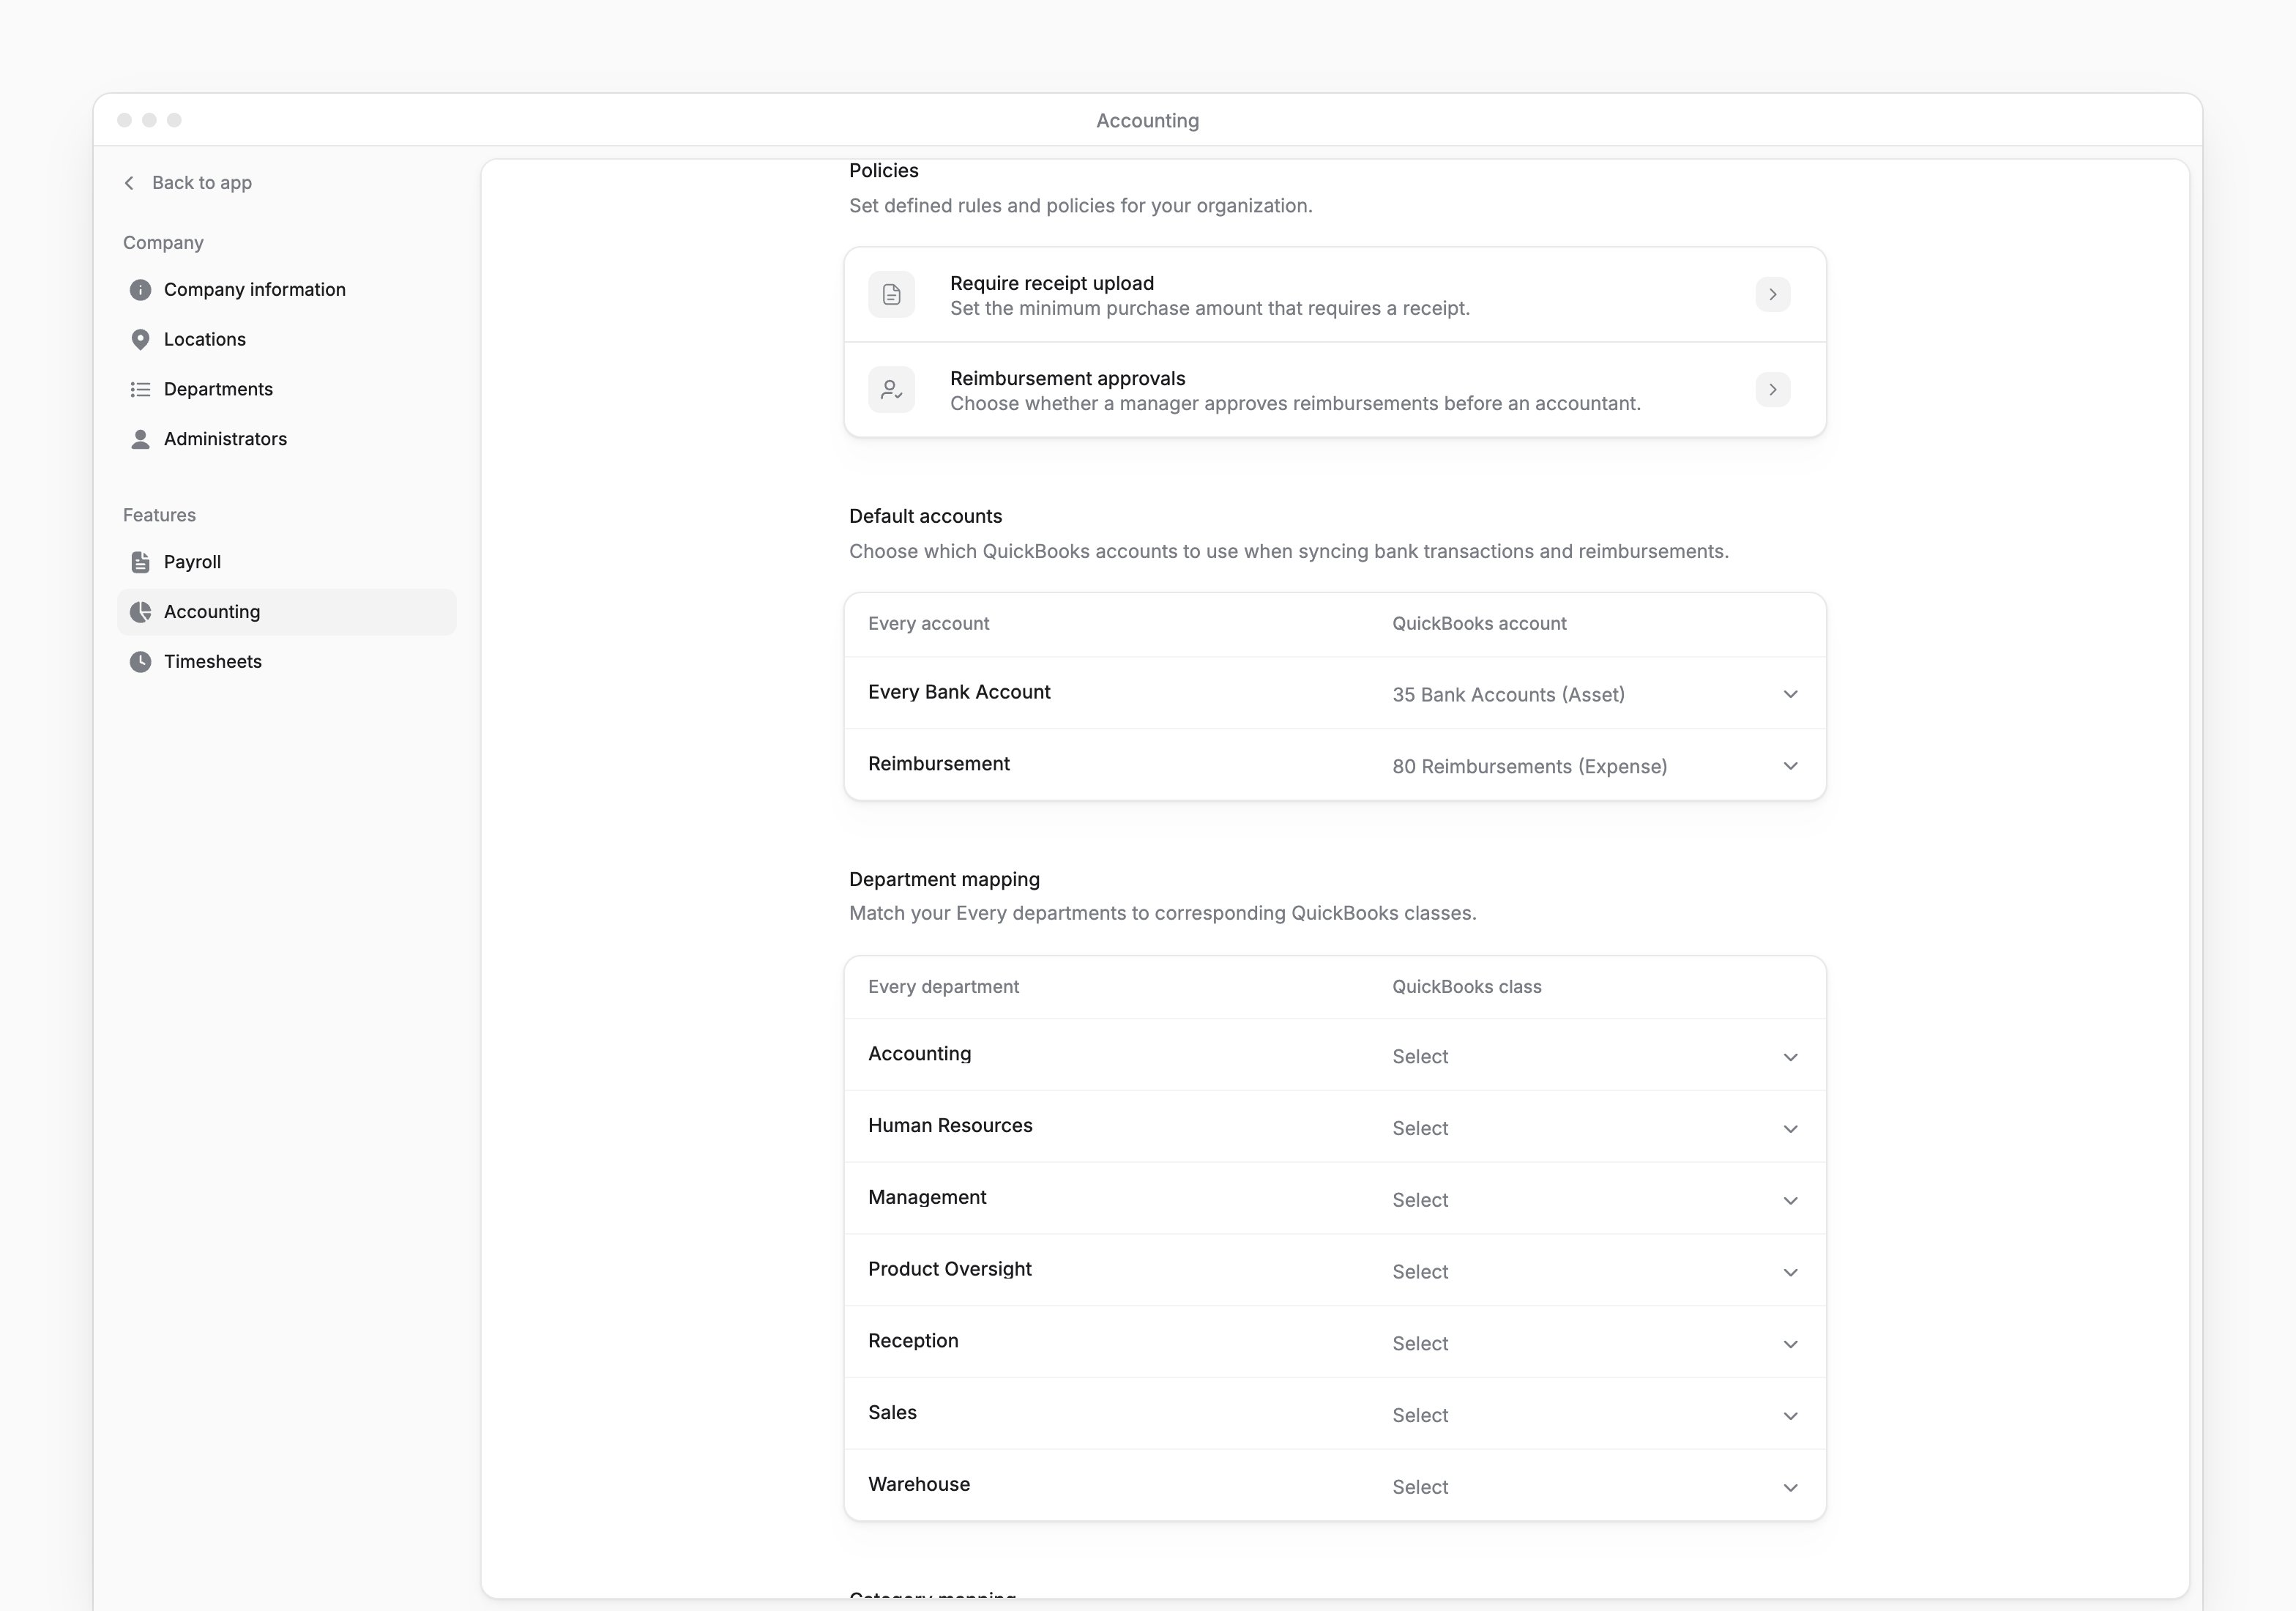
Add or delete a custom category
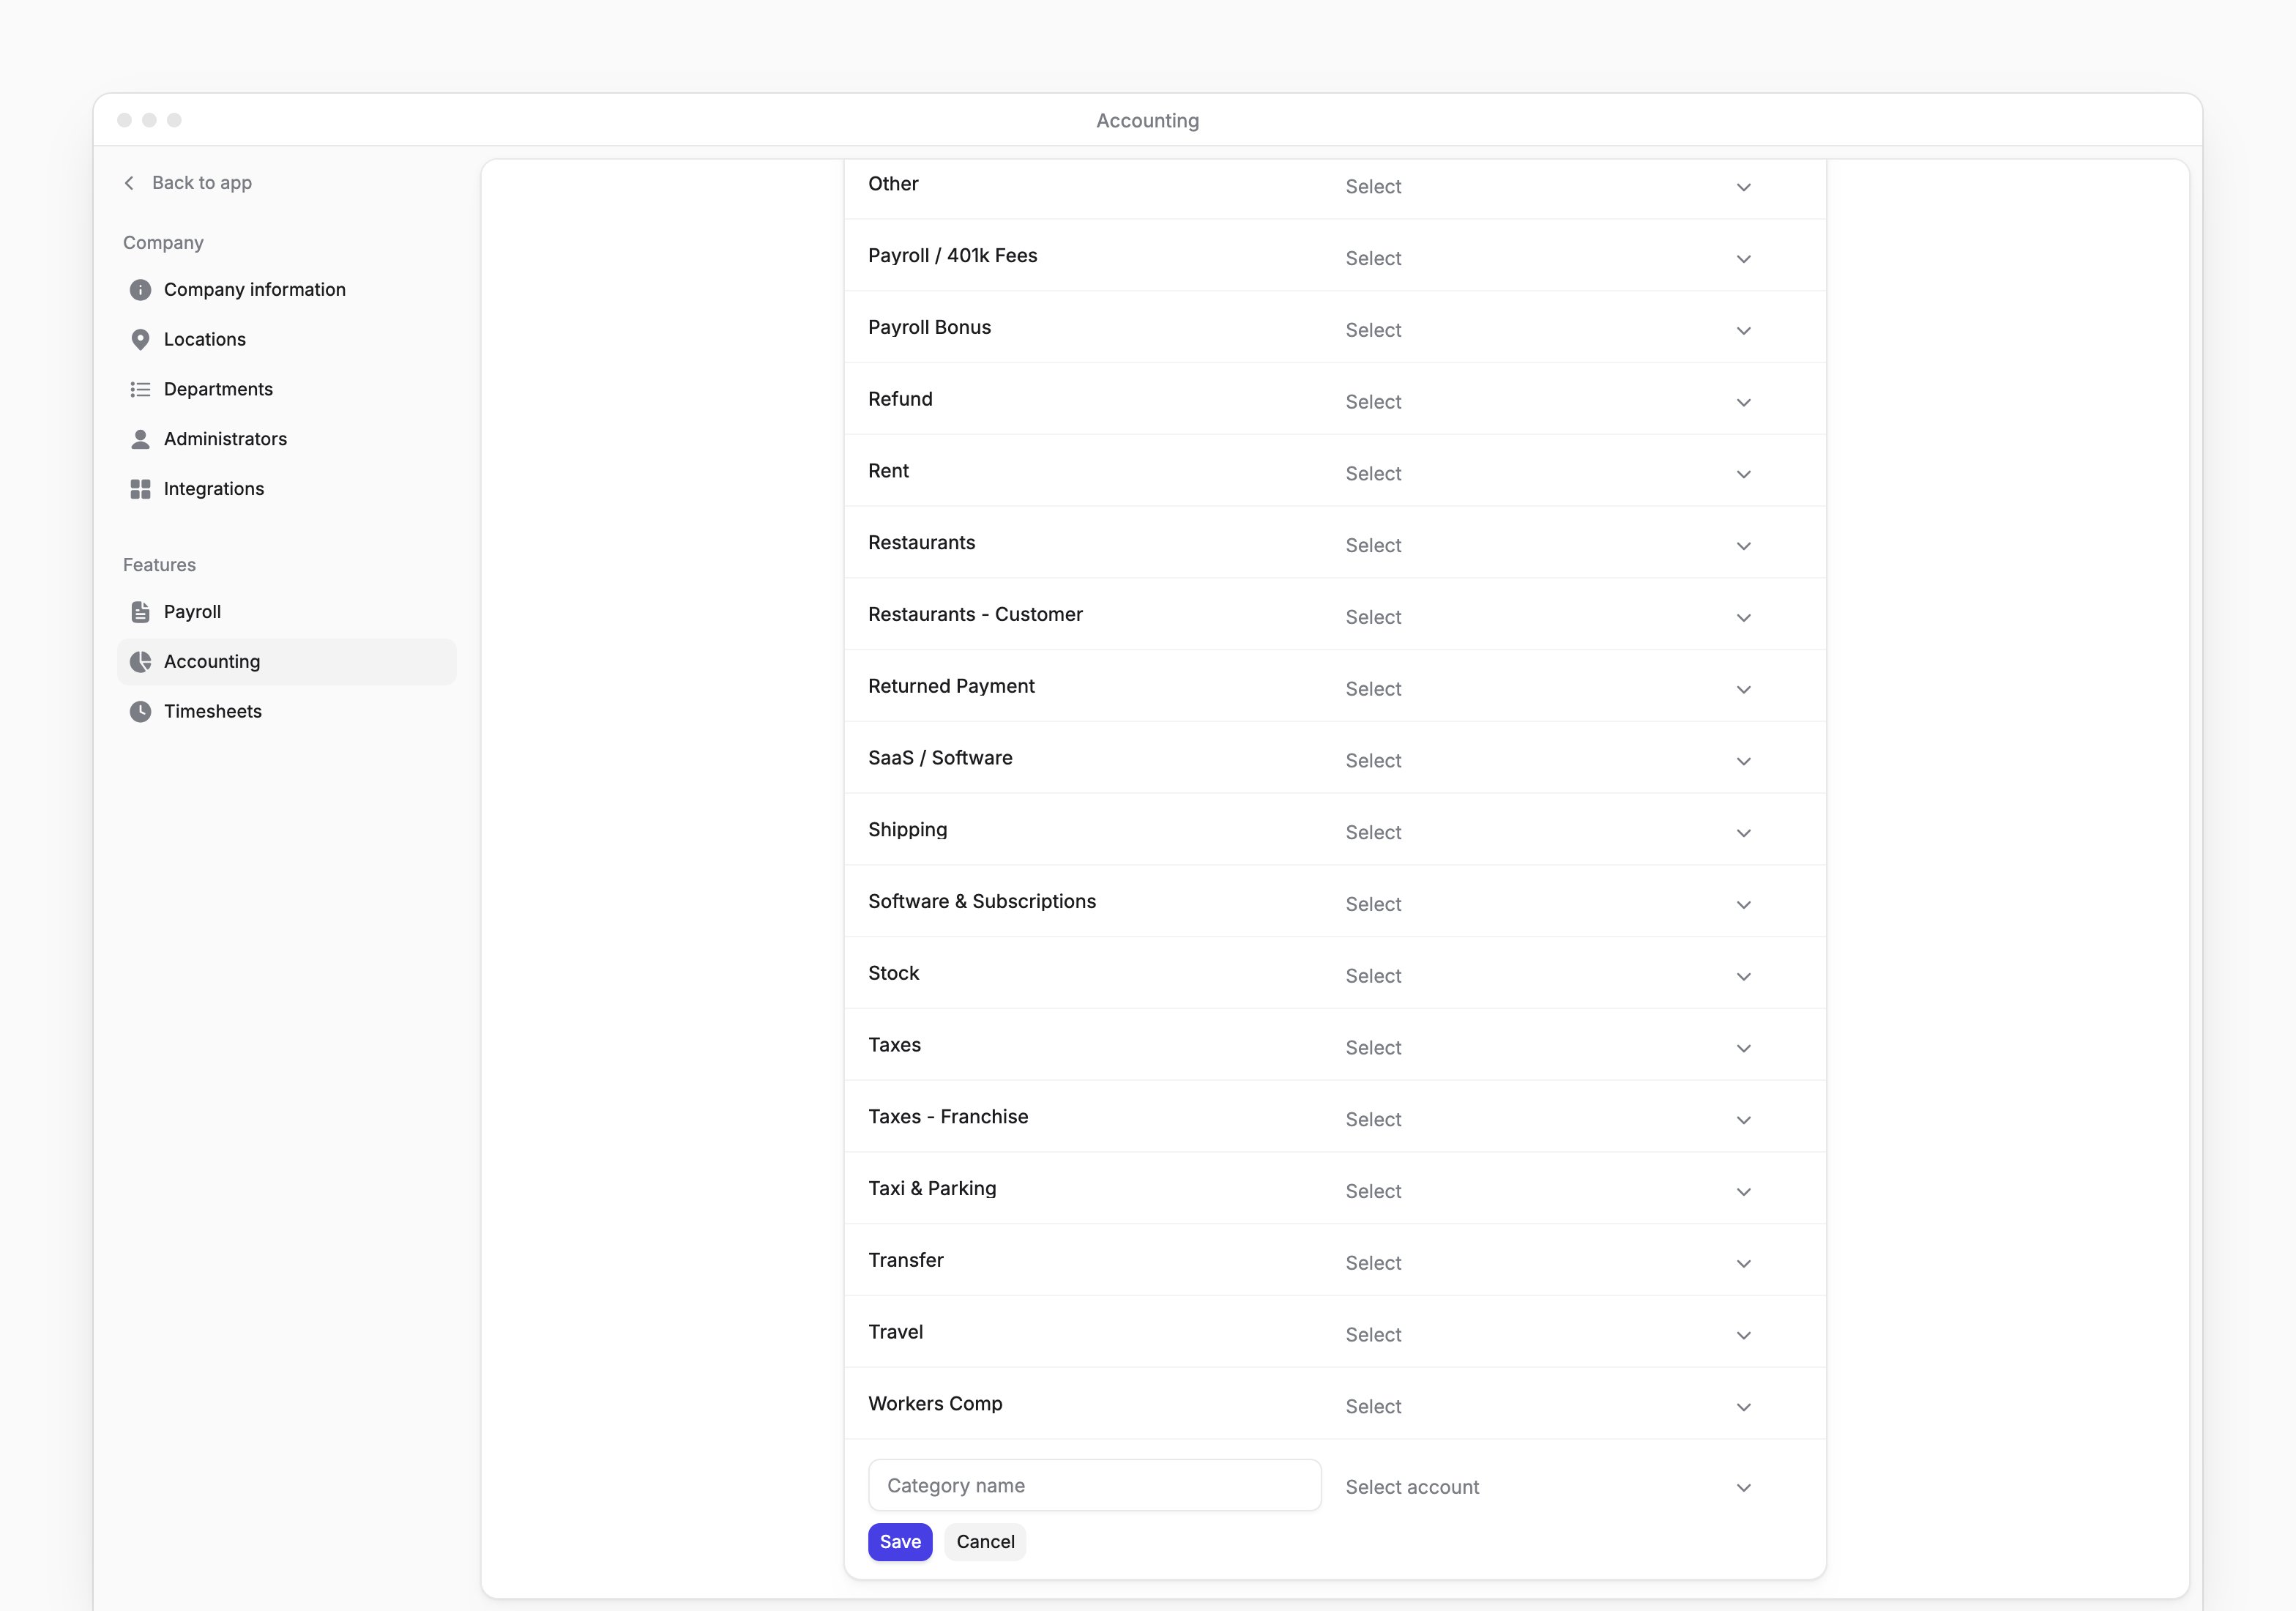
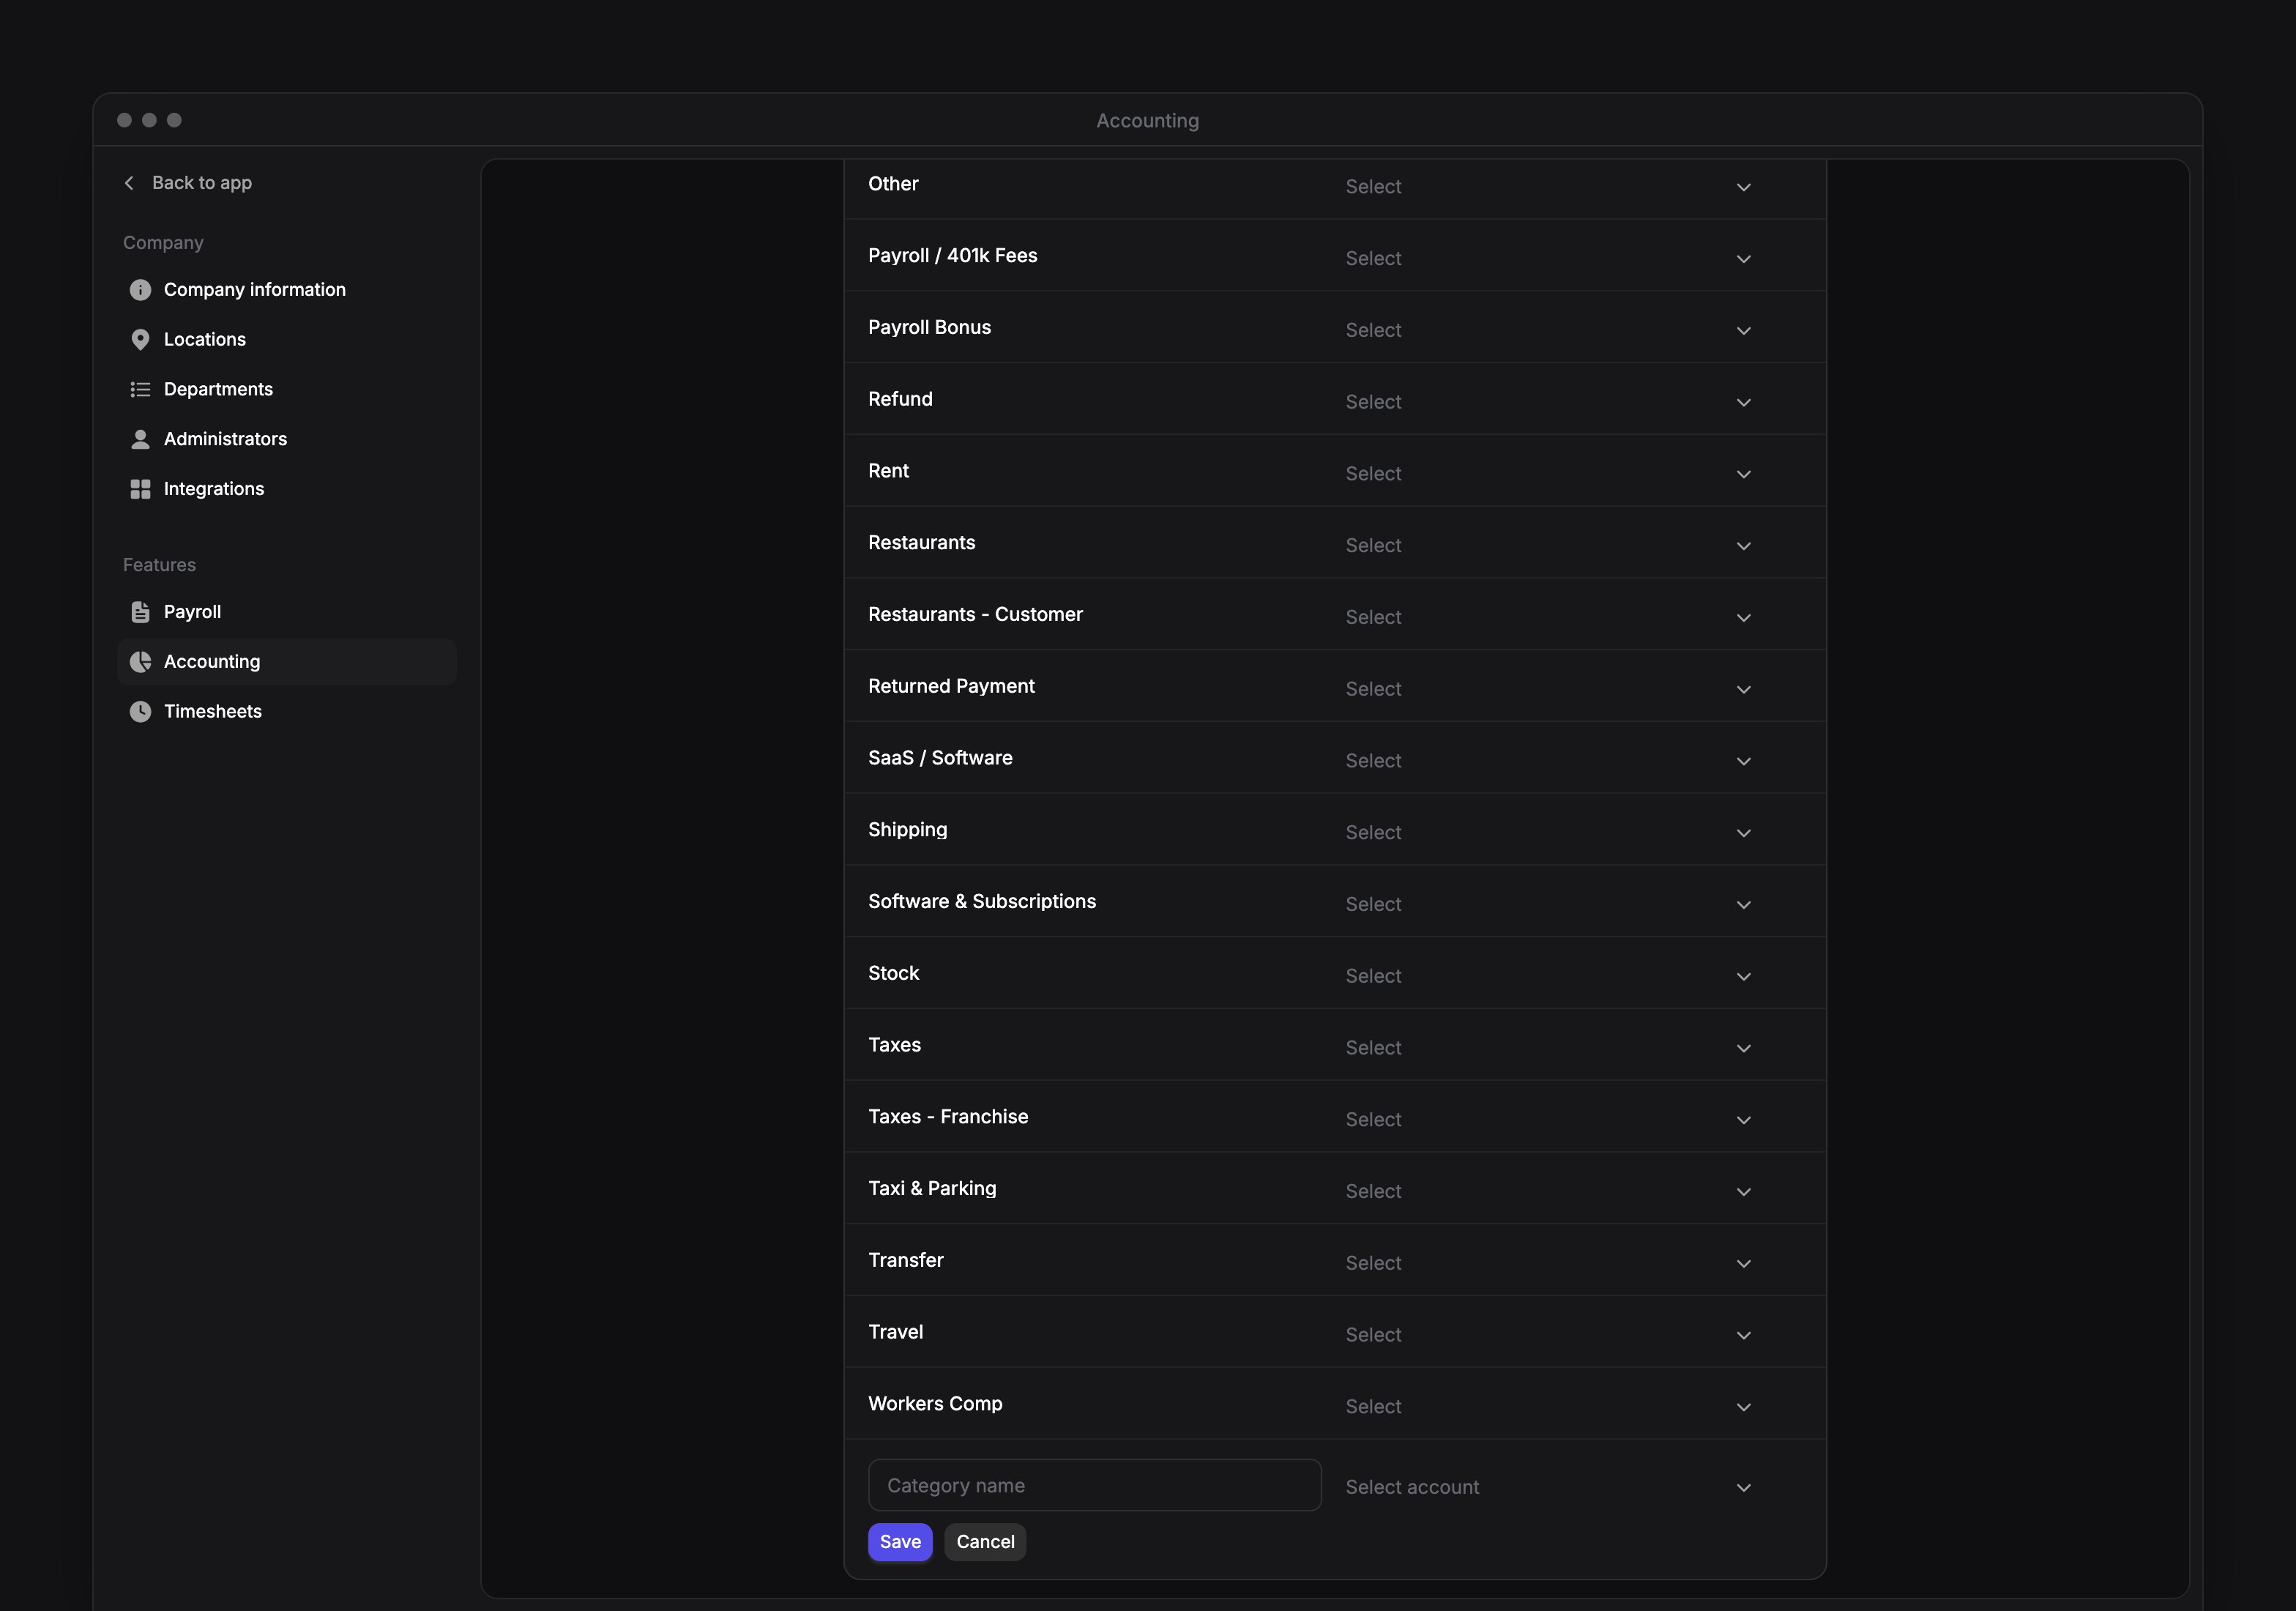
You can create a category of your own and map it to a QuickBooks account at the same time.1
Add a category
Under Category mapping → Other categories, select Add category.
2
Name the category
In Category name, enter a name of up to 120 characters. It must differ from your company’s existing categories and Every’s defaults, ignoring capitalization.
3
Choose the account
In QuickBooks account, choose an active account from your company’s connection.
4
Save the category
Select Save. The category appears with a Custom badge.
- On the category’s row, select the trash button.
- Select Delete to confirm. Deletion can’t be undone.
Choose bookkeeping automations
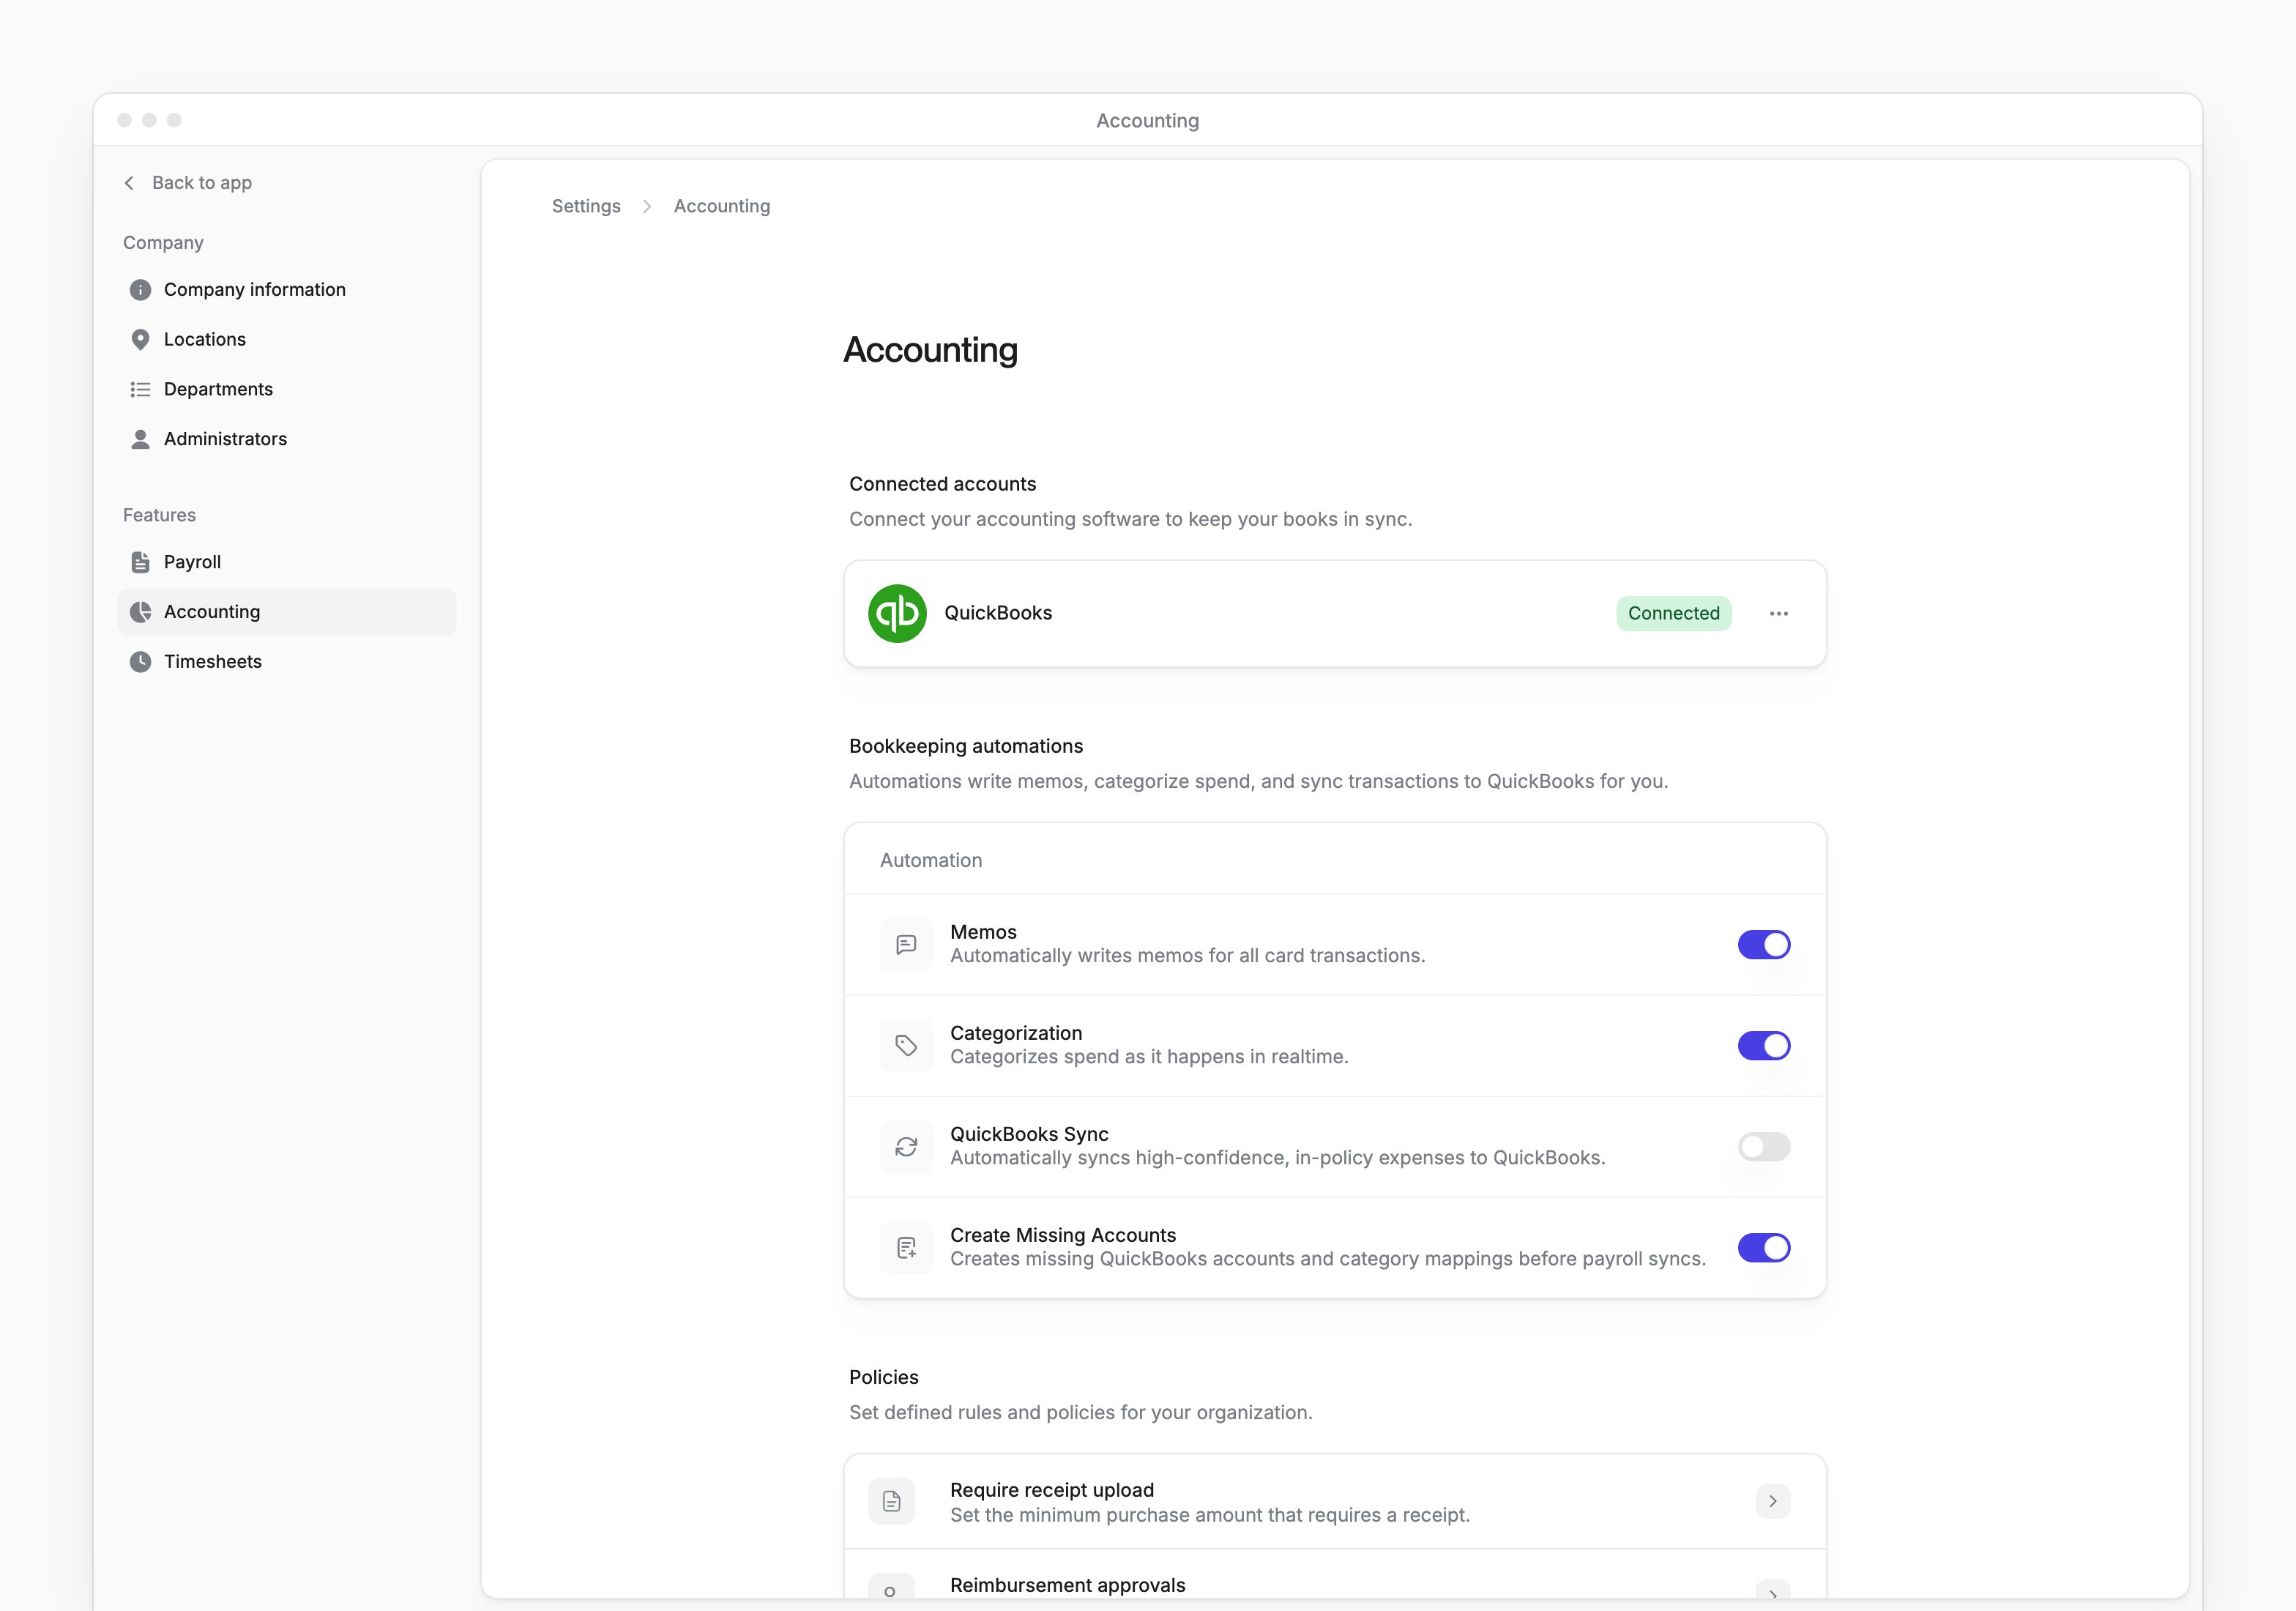
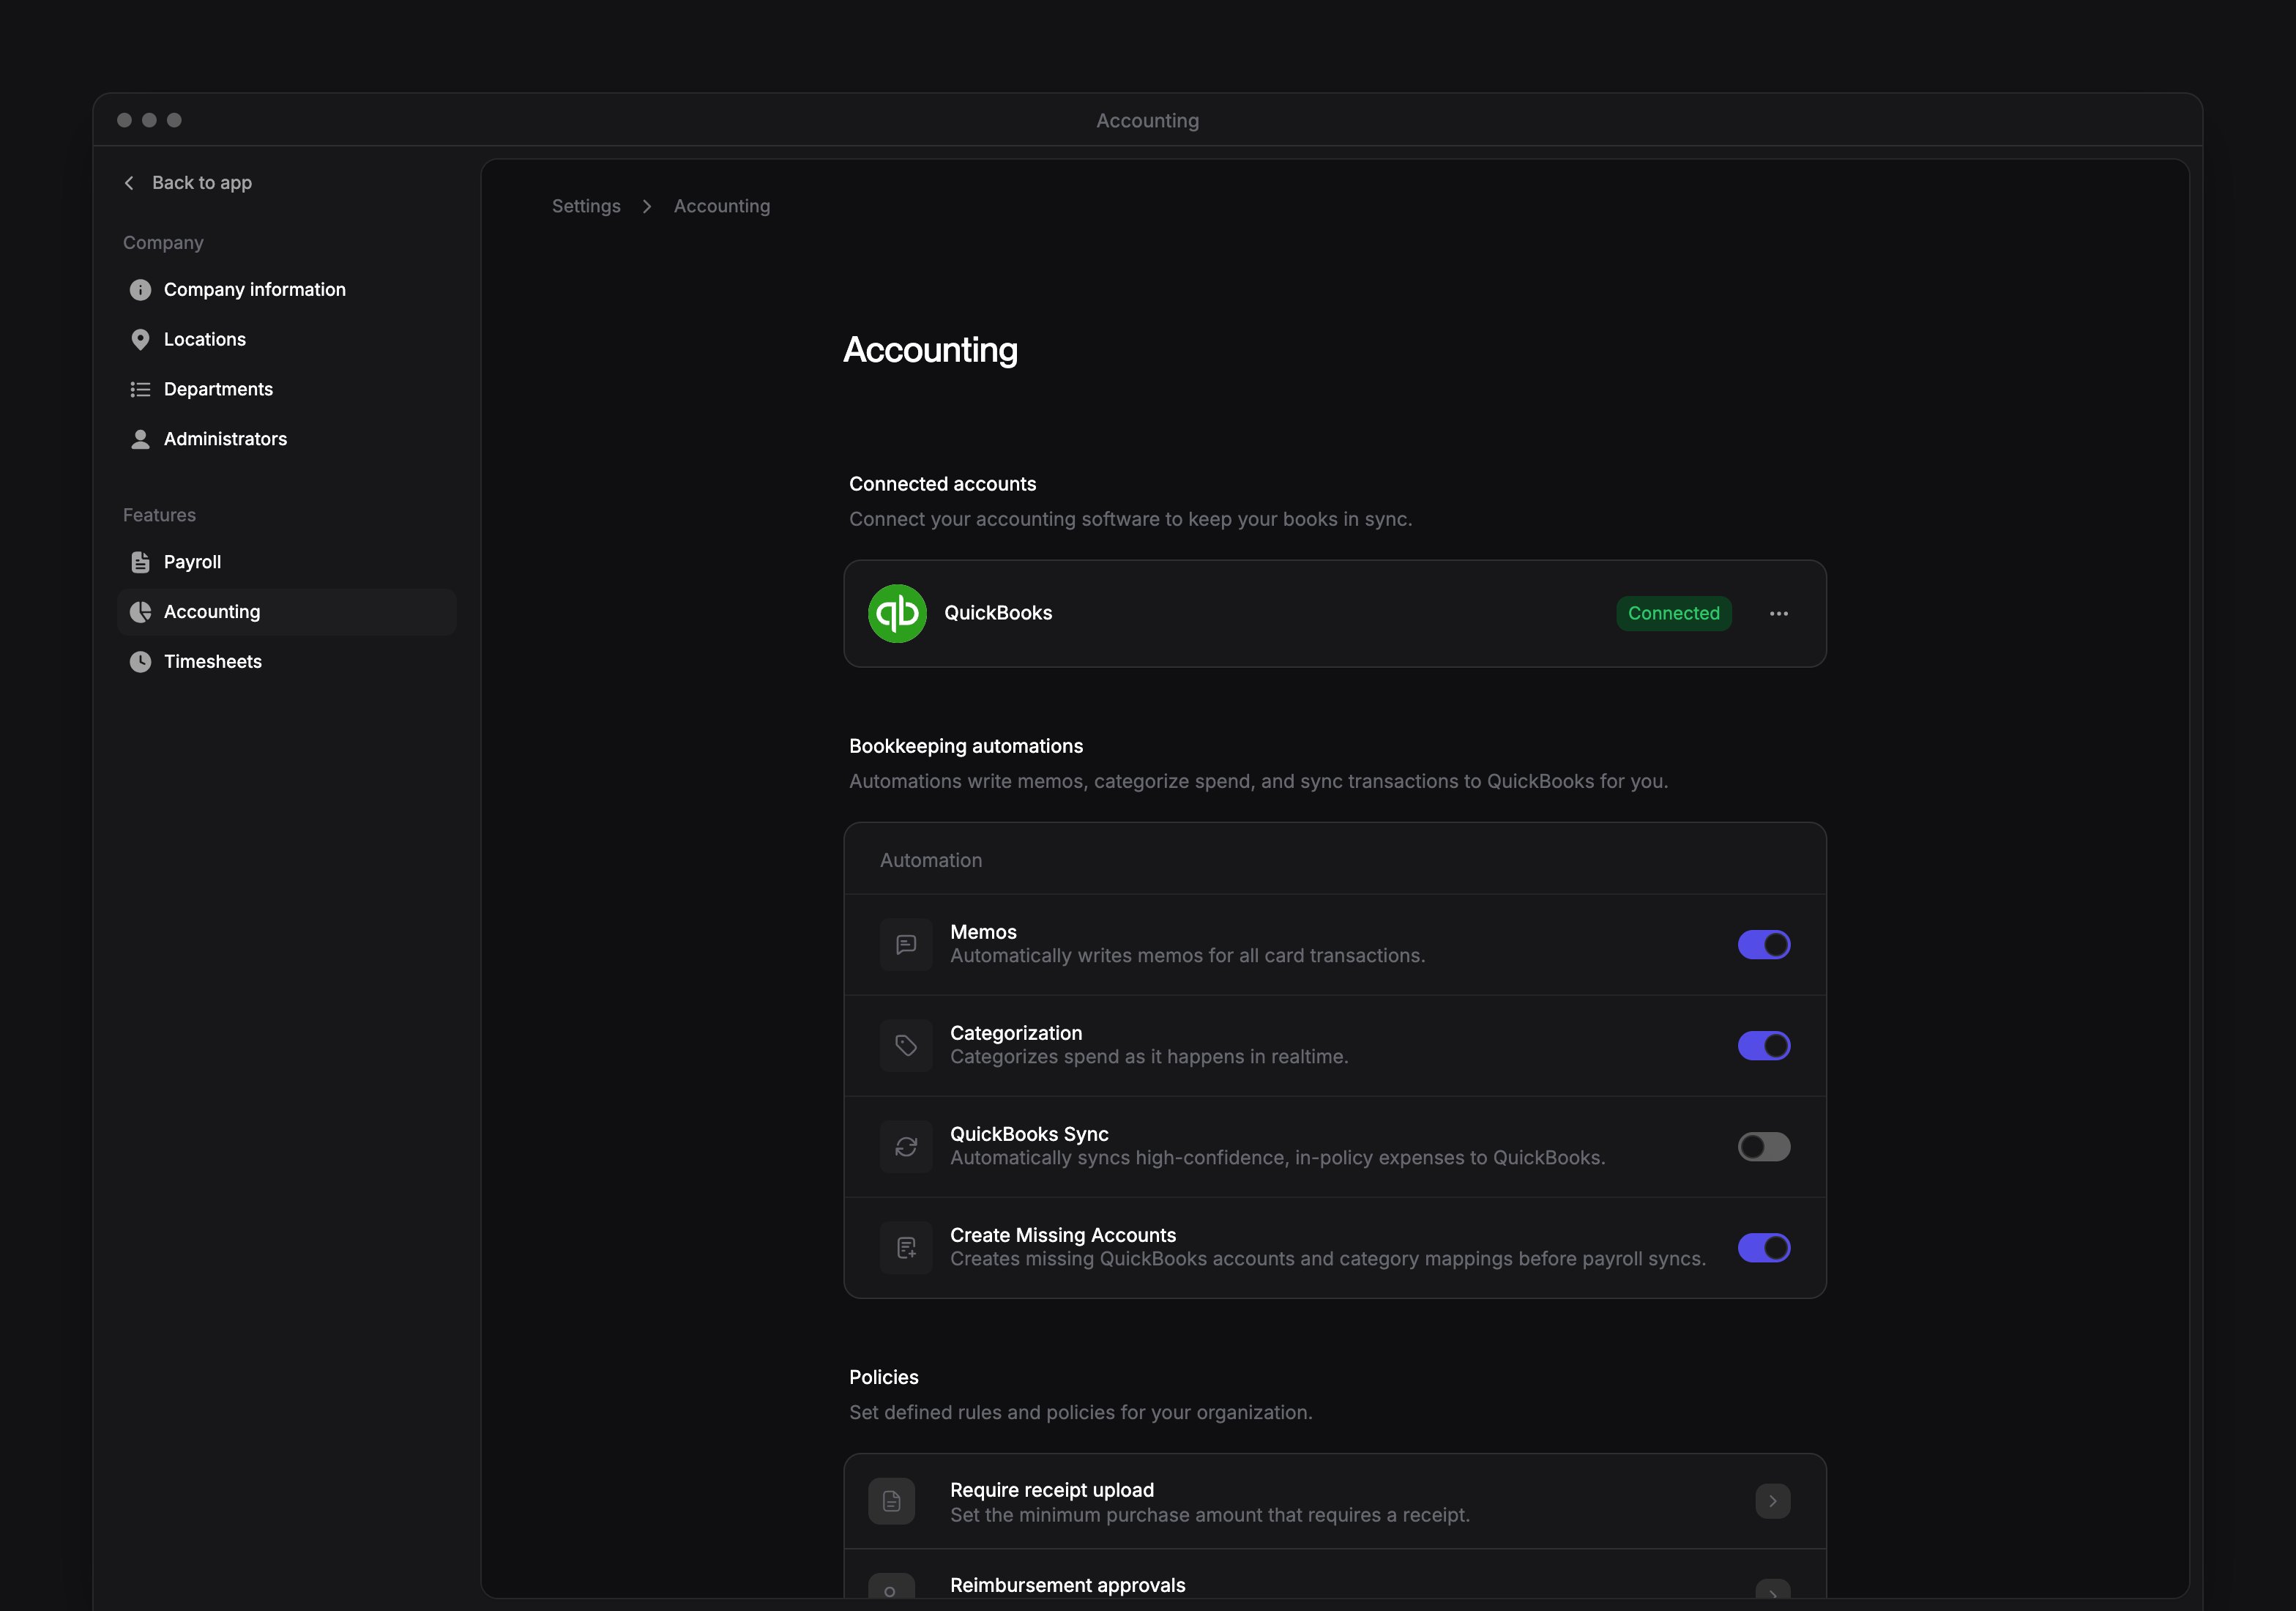
Under Bookkeeping automations, turn each automation on or off. Each switch saves as you change it.
QuickBooks Sync starts off. It needs QuickBooks connected and Every Bank Account and Reimbursement set. Each expense also needs a QuickBooks vendor and category. An expense it doesn’t sync stays on Expenses, where you can review it and sync it yourself. A Blocked expense can’t be synced; remove it instead.
Turning off Categorization stops QuickBooks suggestions. Every continues categorizing spend in Every’s own categories. On Expenses, choose QuickBooks vendors and categories yourself.
Set a receipt threshold
Policies works with or without QuickBooks.1
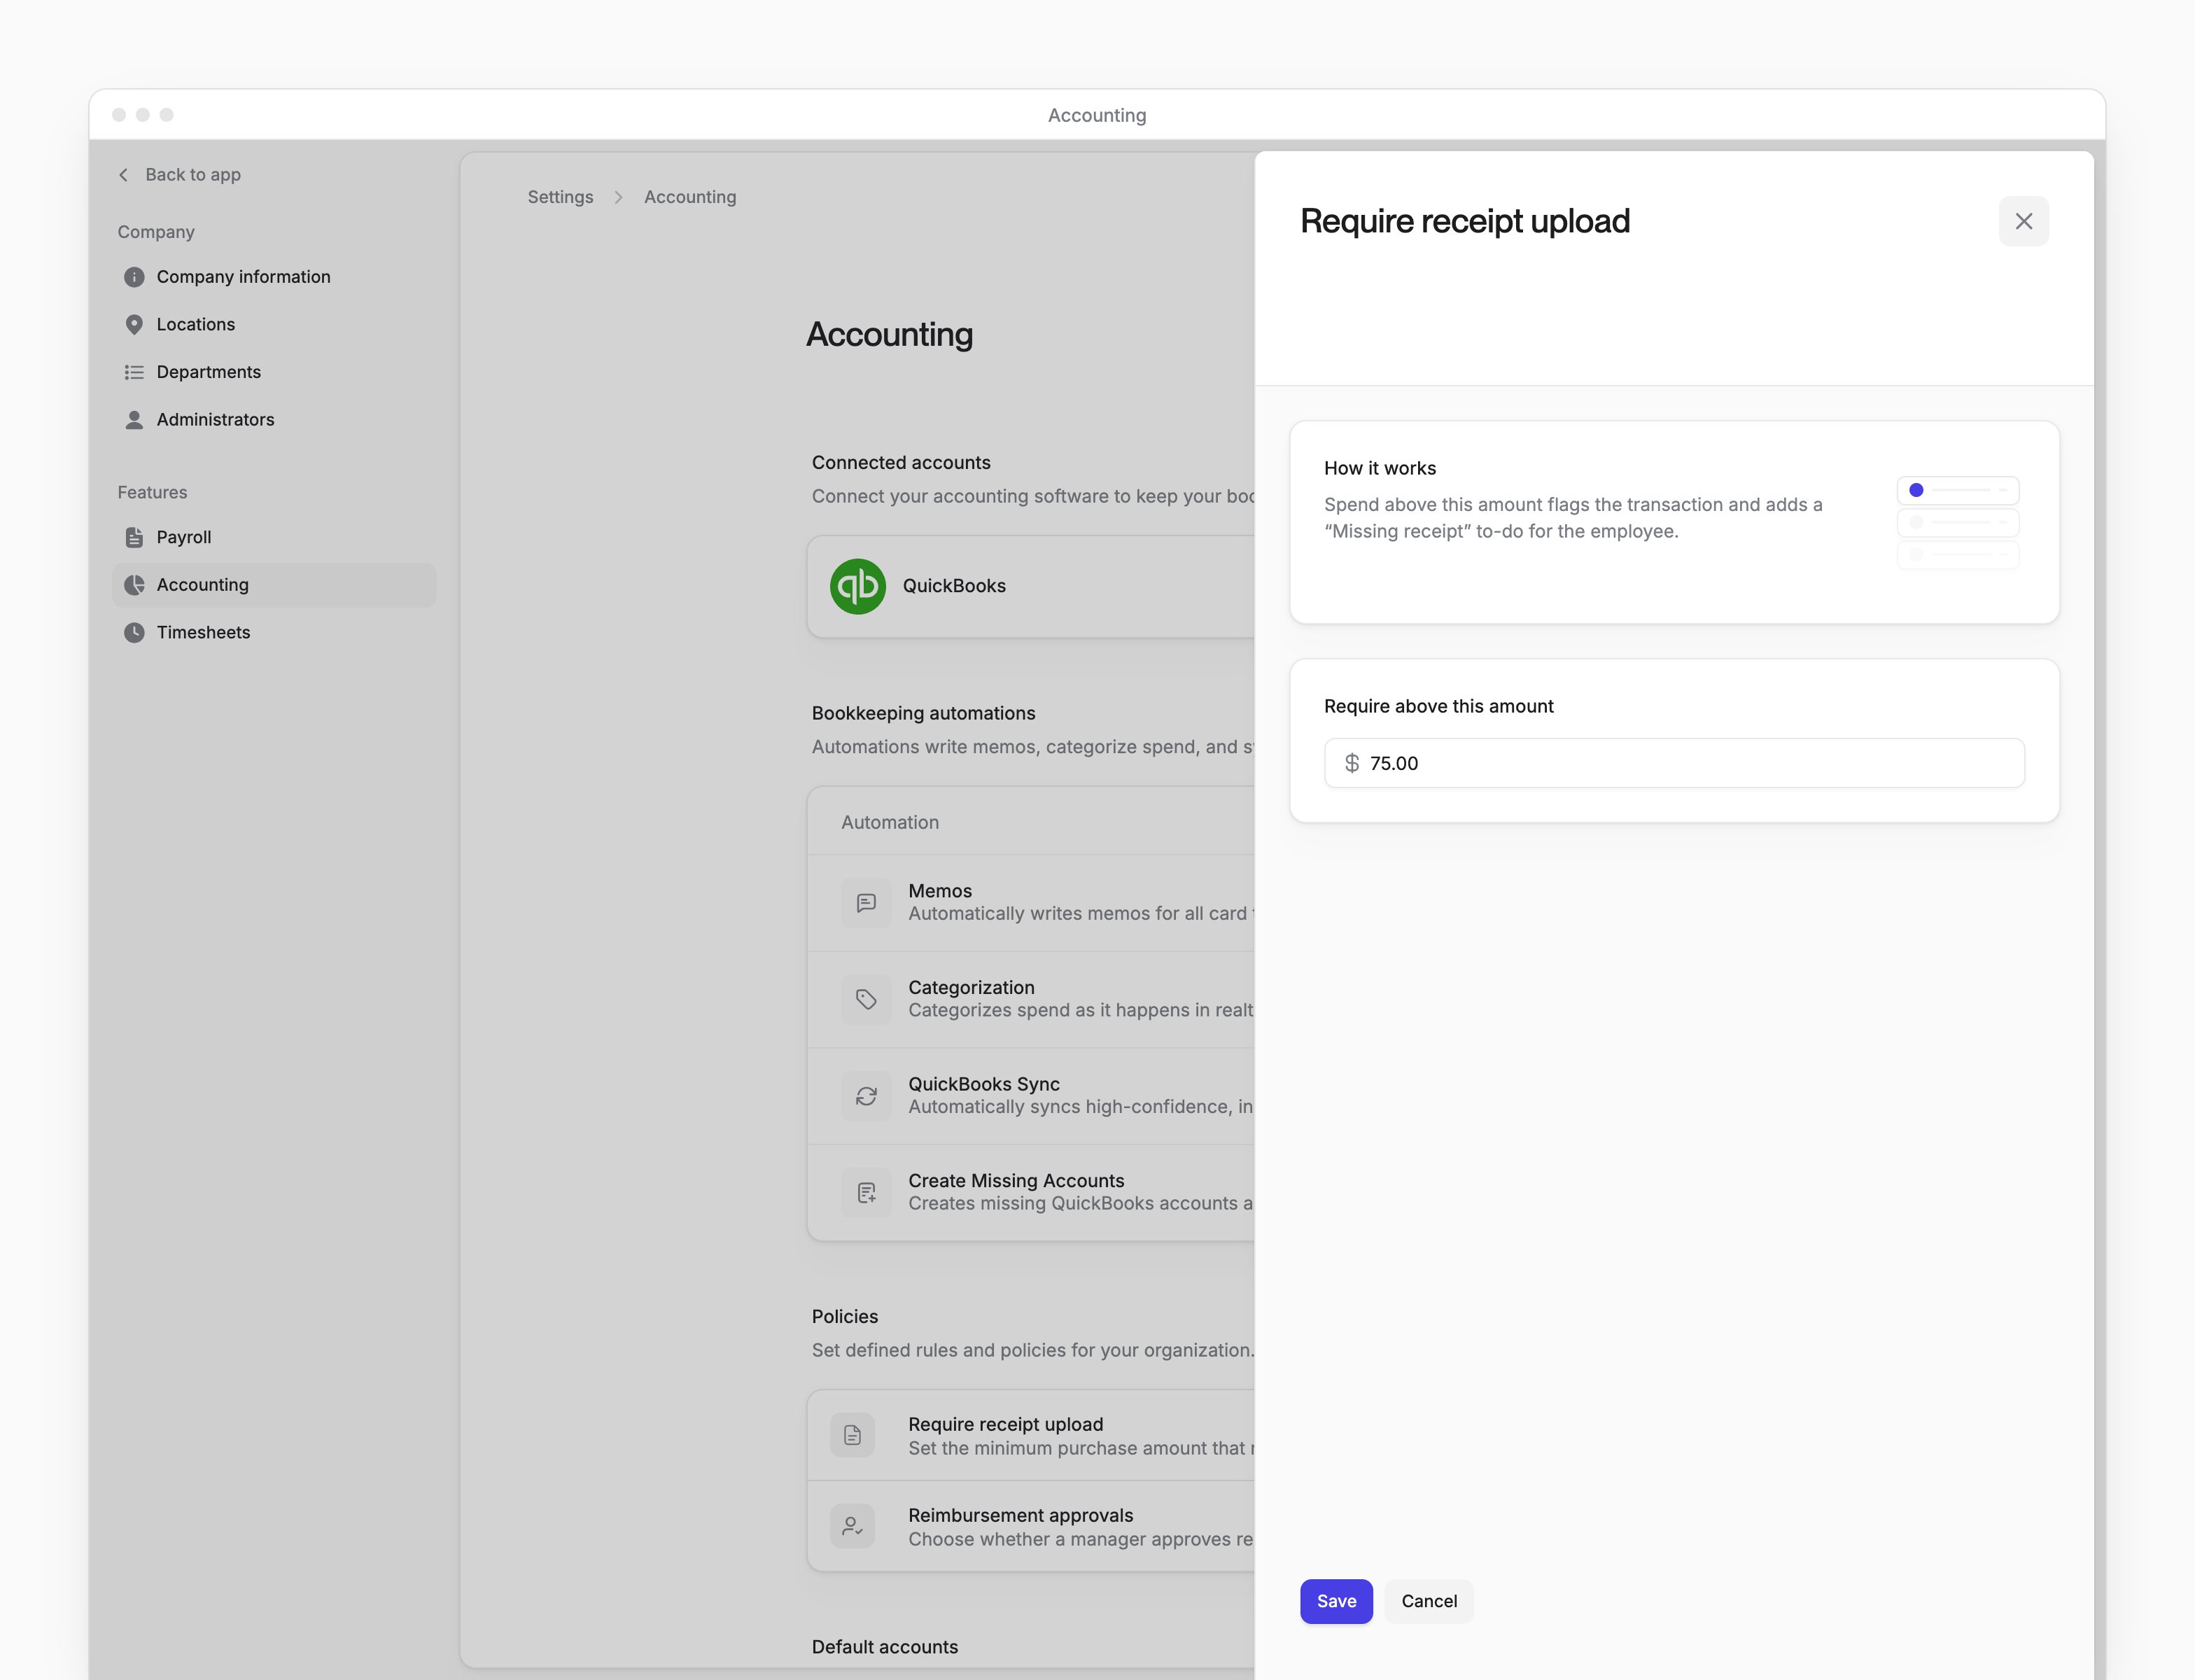
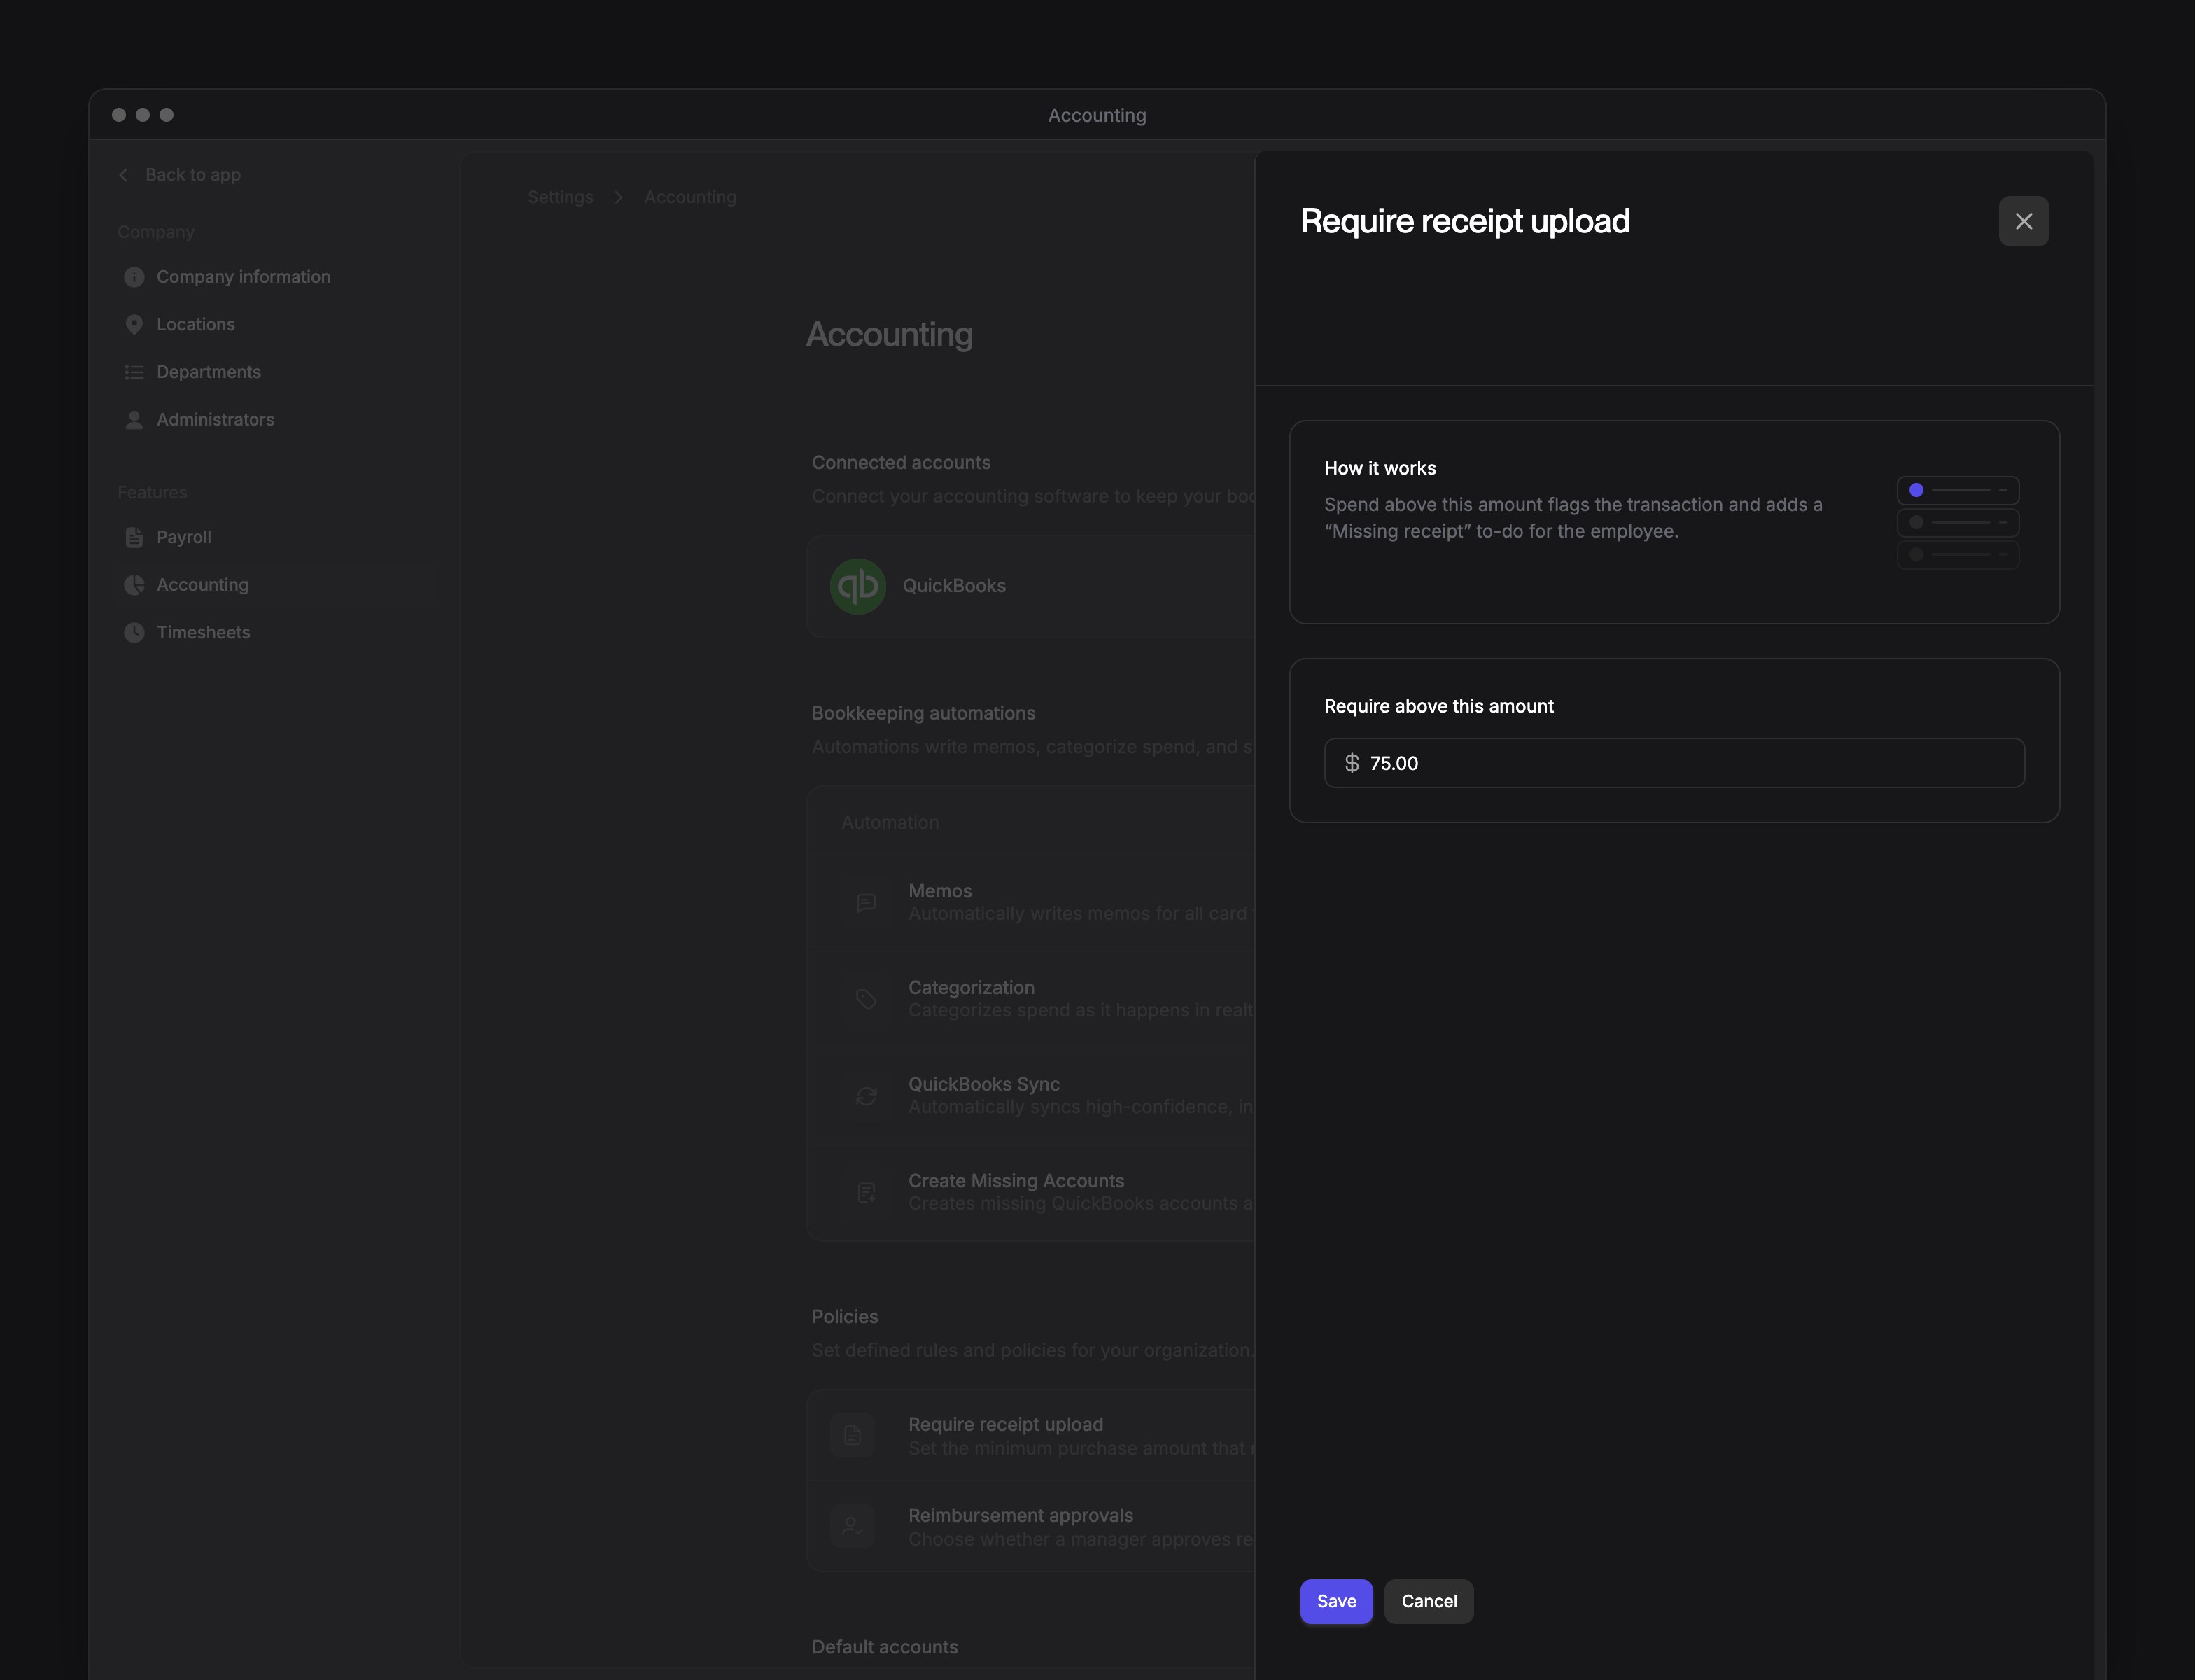
Open the receipt policy
Under Policies, select Require receipt upload.
2
Enter the threshold
In Require above this amount, enter a dollar amount greater than $0.
3
Save the policy
Select Save.
Choose reimbursement approvals
1
Open the policy
Under Policies, select Reimbursement approvals.
2
Choose an option
Choose Require manager approval or Skip manager approval.
3
Save the policy
Select Save.
A reimbursement from an employee without a manager goes to a single Company Admin. Reimbursements already waiting for approval keep their original approvers. See Reimbursements for approval exceptions and how to approve a request.
Refresh or disconnect QuickBooks
In the menu next to QuickBooks, select Refresh data to bring new QuickBooks accounts, vendors or classes into Every’s lists. Reload the page to see updated data. To disconnect QuickBooks:- In the menu next to QuickBooks, select Disconnect.
- In Disconnect QuickBooks?, select Disconnect to confirm.